2.1 RStudio Setup
Learning Objectives
- Practice creating an R Project
- Organize an R Project for effective project management
- Understand how to move in an R Project using paths and working directories
2.1.1 Logon to the RStudio Server
To prevent us from spending most of this lesson troubleshooting the myriad of issues that can arise when setting up the R, RStudio, and git environments, we have chosen to have everyone work on a remote server with all of the software you need installed. We will be using a special kind of RStudio just for servers called RStudio Server. If you have never worked on a remote server before, you can think of it like working on a different computer via the internet. Note that the server has no knowledge of the files on your local filesystem, but it is easy to transfer files from the server to your local computer, and vice-versa, using the RStudio server interface.
You should have received an email prompting you to change your password for your server account. If you did not, please put up a post-it and someone will help you.
After you have successfully changed your password log in at: https://included-crab.nceas.ucsb.edu/
2.1.2 Create an R Project
In this course, we are going to be using an R project to organize our work. An R project is tied to a directory on your local computer, and makes organizing your work and collaborating with others easier.
The Big Idea: using an R project is a reproducible research best practice because it bundles all your work within a working directory. Consider your current data analysis workflow. Where do you import you data? Where do you clean and wrangle it? Where do you create graphs, and ultimately, a final report? Are you going back and forth between multiple software tools like Microsoft Excel, JMP, and Google Docs? An R project and the tools in R that we will talk about today will consolidate this process because it can all be done (and updated) in using one software tool, RStudio, and within one R project.
2.1.3 Organizing an R Project
When starting a new research project, one of the first things I do is create an R Project for it (just like we have here!). The next step is to then populate that project with relevant directories. There are many tools out there that can do this automatically. Some examples are rrtools or usethis::create_package(). The goal is to organize your project so that it is a compendium of your research. This means that the project has all of the digital parts needed to replicate your analysis, like code, figures, the manuscript, and data access.
Some common directories are:
data: where we store our data (often contains subdirectories for raw, processed, and metadata data)R: contains scripts for cleaning or wrangling, etc. (some find this name misleading if their work has other scripts beyond the R programming language, in which case they call this directoryscripts)plotsorfigs: generated plots, graphs, and figuresdocs: summaries or reports of analysis or other relevant project information
Directory organization will vary from project to project, but the ultimate goal is to create a well organized project for both reproducibility and collaboration.

2.1.4 Moving in an R Project using Paths & Working Directories
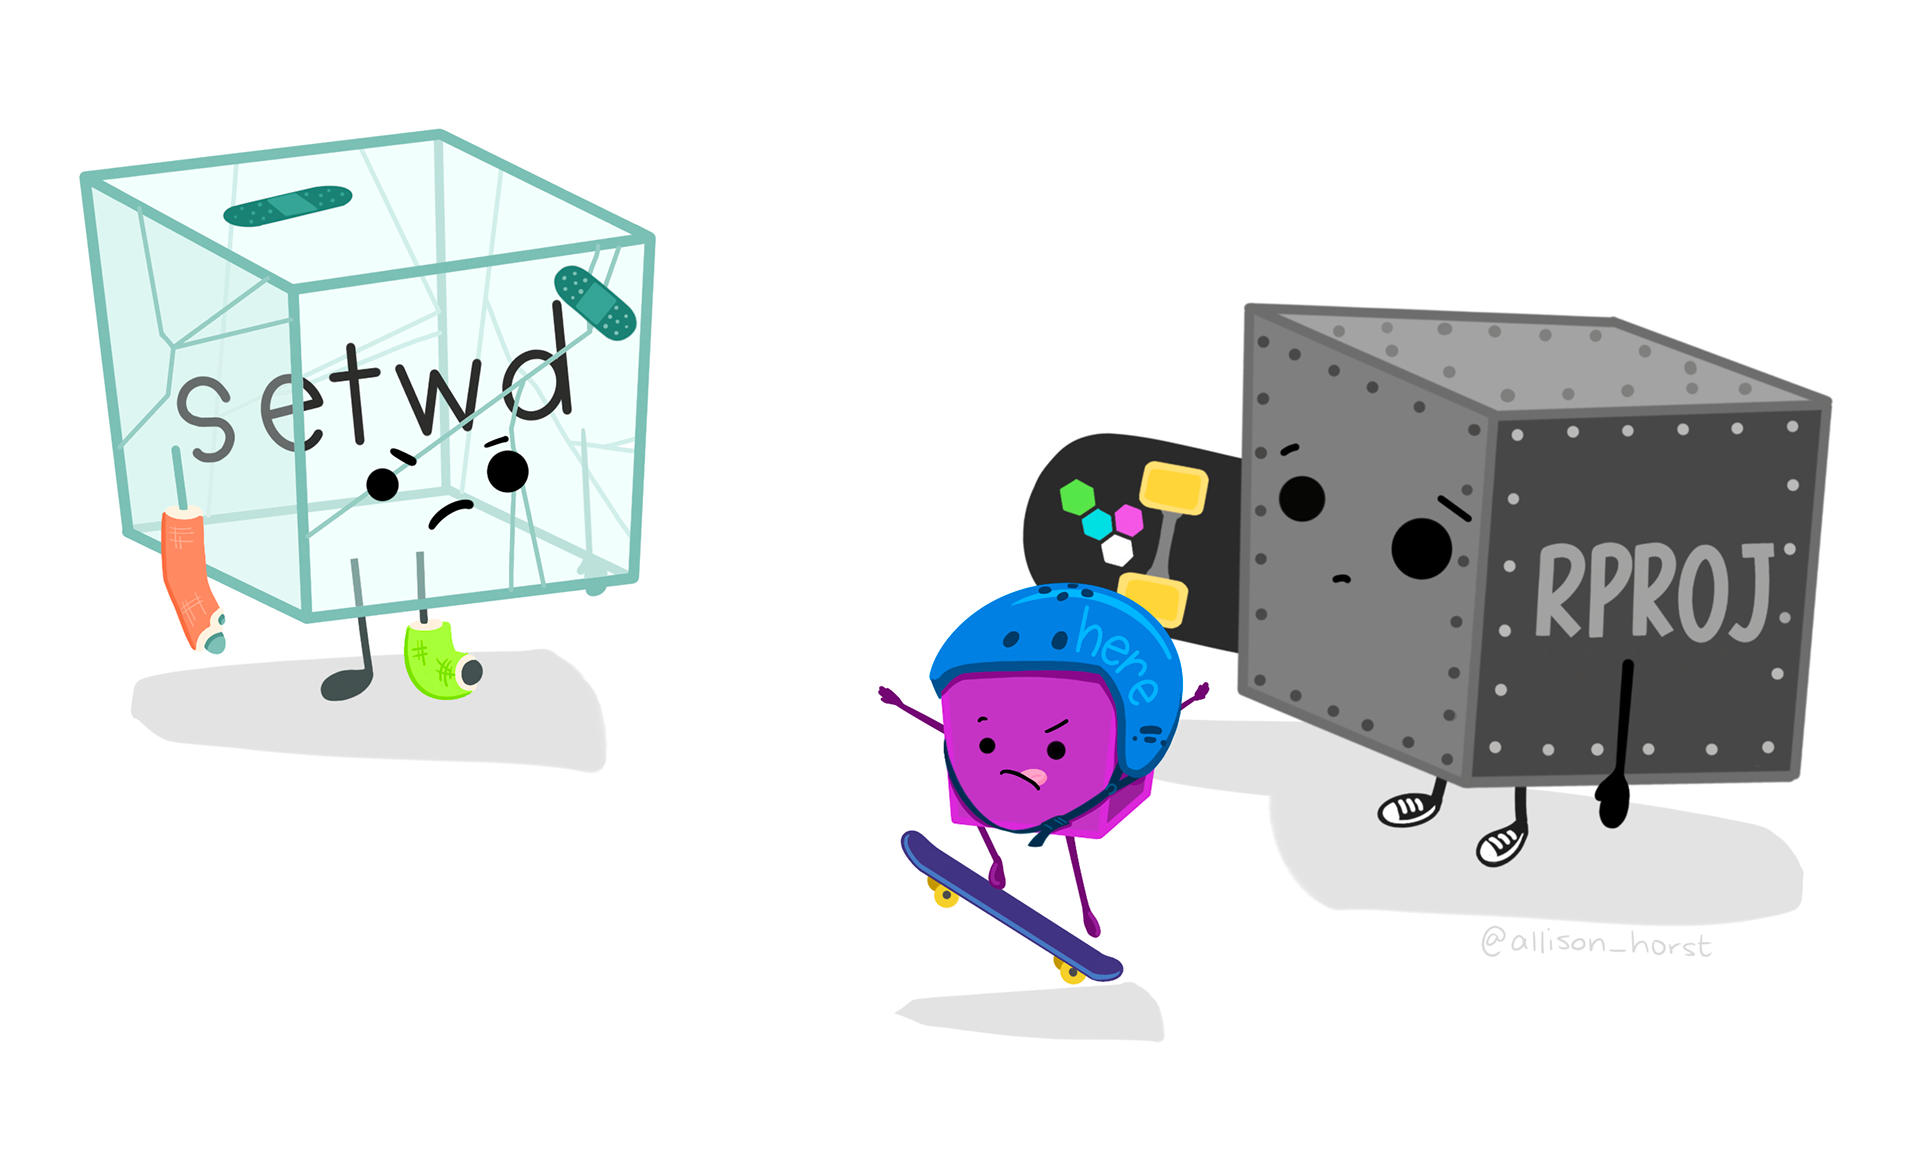
Now that we have your project created (and notice we know it’s an R Project because we see a .Rproj file in our Files pane), let’s learn how to move in a project. We do this using paths.
There are two types of paths in computing: absolute paths and relative paths.
An absolute path always starts with the root of your file system and locates files from there. The absolute path to my project directory is:
/home/vargas-poulsen/training_vargasRelative paths start from some location in your file system that is below the root. Relative paths are combined with the path of that location to locate files on your system. R (and some other languages like MATLAB) refer to the location where the relative path starts as our working directory.
RStudio projects automatically set the working directory to the directory of the project. This means that you can reference files from within the project without worrying about where the project directory itself is. If I want to read in a file from the data directory within my project, I can simply type read.csv("data/samples.csv") as opposed to read.csv("/home/vargas-poulsen/training_vargas/data/samples.csv").
This is not only convenient for you, but also when working collaboratively. We will talk more about this later, but if Matt makes a copy of my R project that I have published on GitHub, and I am using relative paths, he can run my code exactly as I have written it, without going back and changing /home/vargas-poulsen/training_vargas/data/samples.csv to /home/jones/training_jones/data/samples.csv.
Note that once you start working in projects you should basically never need to run the setwd() command. If you are in the habit of doing this, stop and take a look at where and why you do it. Could leveraging the working directory concept of R projects eliminate this need? Almost definitely!
Similarly, think about how you work with absolute paths. Could you leverage the working directory of your R project to replace these with relative paths and make your code more portable? Probably!
2.2 Git and GitHub Setup
Learning Objectives
- Set global options in your
.gitconfigfile - Practice how to set up GitHub Authentication using a Personal Access Token (PAT)
2.2.1 Set up global options in Git
Before using Git, you need to tell it who you are, also known as setting the global options. To do this, we will be setting the global options in the Terminal.
To get started, let’s open a new Terminal window in RStudio. Do this by clicking Tools > Terminal > New Terminal.
A Terminal tab should now be open where your Console usually is.
Let’s start by adding your user name to the global options. Type the following into the command prompt, with your exact GitHub username, and press enter:
git config --global user.name "my_user_name"Note that if the code ran successfully, it will look like nothing happened. We will check at the end to make sure it worked.
Next, enter the following line, with the email address you used when you created your account on github.com:
git config --global user.email "my_email@nceas.ucsb.edu"When you add your username and email to the global options you must use the exact same spelling and case that you used on GitHub otherwise, Git won’t be able to sync to your account.
Next, we will set our credentials to not time out for a very long time. This is related to how our server operating system handles credentials - not doing this will make your Personal Access Token (PAT, which we will set up in the next section) expire immediately on the system, even though it is actually valid for at least a month.
git config --global credential.helper 'cache --timeout=10000000'Next, we will set the default branch name to main for any new repositories that are created moving forward. Why are we doing this? Previously, the default branch name was master and this racist terminology for Git branches motivates us to update our default branch to main instead.
git config --global init.defaultBranch mainFinally, check to make sure everything looks correct by entering this command, which will return the global options you have set.
git config --global --list2.2.2 GitHub Authentication
GitHub recently deprecated password authentication for accessing repositories, so we need to set up a secure way to authenticate.
The book Happy Git and GitHub for the useR has a wealth of information related to working with Git in R, and these instructions are based off of Chapter 9 Personal access token for HTTPS.
We will be using a Personal Access Token (PAT) in this course. For better security and long term use, we recommend taking the extra steps to set up SSH keys (check out Chapter 10 Set up Keys for SSH).
Congrats! Now you’ve setup your authentication you should be able to work with GitHub in RStudio now.