course_packages <- c("dplyr",
                     "DT",
                     "forcats",
                     "ggplot2",
                     "ggmap",
                     "knitr",
                     "leaflet",
                     "lubridate",
                     "readr",
                     "renv",
                     "rrtools",
                     "sf",
                     "scales",
                     "tidyr",
                     "usethis")

for (course_packages in course_packages) {

    if (!(course_packages %in% installed.packages())) { install.packages(course_packages) }

    }

rm(course_packages) # remove object from Global Environment

# update any out-of-date packages
update.packages(ask=FALSE)Learning Objectives
- Practice creating an R Project
- Organize an R Project for effective project management
- Understand how to move in an R Project using paths and working directories
1.1 Before we start
1.1.1 Non-Verbal Feedback
We’ll be using the Zoom “Non Verbal Feedback” buttons throughout this session. We will ask you to put a green check by your name when you’re all set and ready to move on, and a red x by your name if you’re stuck or need assistance. These buttons can be found in the Reaction menu on the toolbar. When you’re asked to answer using these buttons, please ensure that you select one so that the instructor has the feedback that they need to either continue the lesson or pause until everyone gets back on the same page.

1.1.2 Questions and Getting Help
When you need to ask a question, please do so in one of the following ways:
- Turn your mic on and ask. If you are uncomfortable interrupting the instructor, you may also raise your virtual hand (in the Reaction menu) and the session facilitator will ask the instructor to pause and call upon you.
- Ask your question in the chat
If you have an issue/error and get stuck, you can ask for help in the following ways:
- Turn your mic on and ask for help. See also above regarding the use of a virtual raised hand.
- Let one of the instructors know through the chat
- If prompted to do so, put a red X next to your name as your status in the participant window.
- If you have an issue that requires in-depth trouble shooting, please let us know and we will coordinate a time with you after this call.
1.2 Logon to the RStudio Server
To prevent us from spending most of this lesson troubleshooting the myriad of issues that can arise when setting up the R, RStudio, and git environments, we have chosen to have everyone work on a remote server with all of the software you need installed. We will be using a special kind of RStudio just for servers called RStudio Server. If you have never worked on a remote server before, you can think of it like working on a different computer via the internet. Note that the server has no knowledge of the files on your local filesystem, but it is easy to transfer files from the server to your local computer, and vice-versa, using the RStudio server interface.
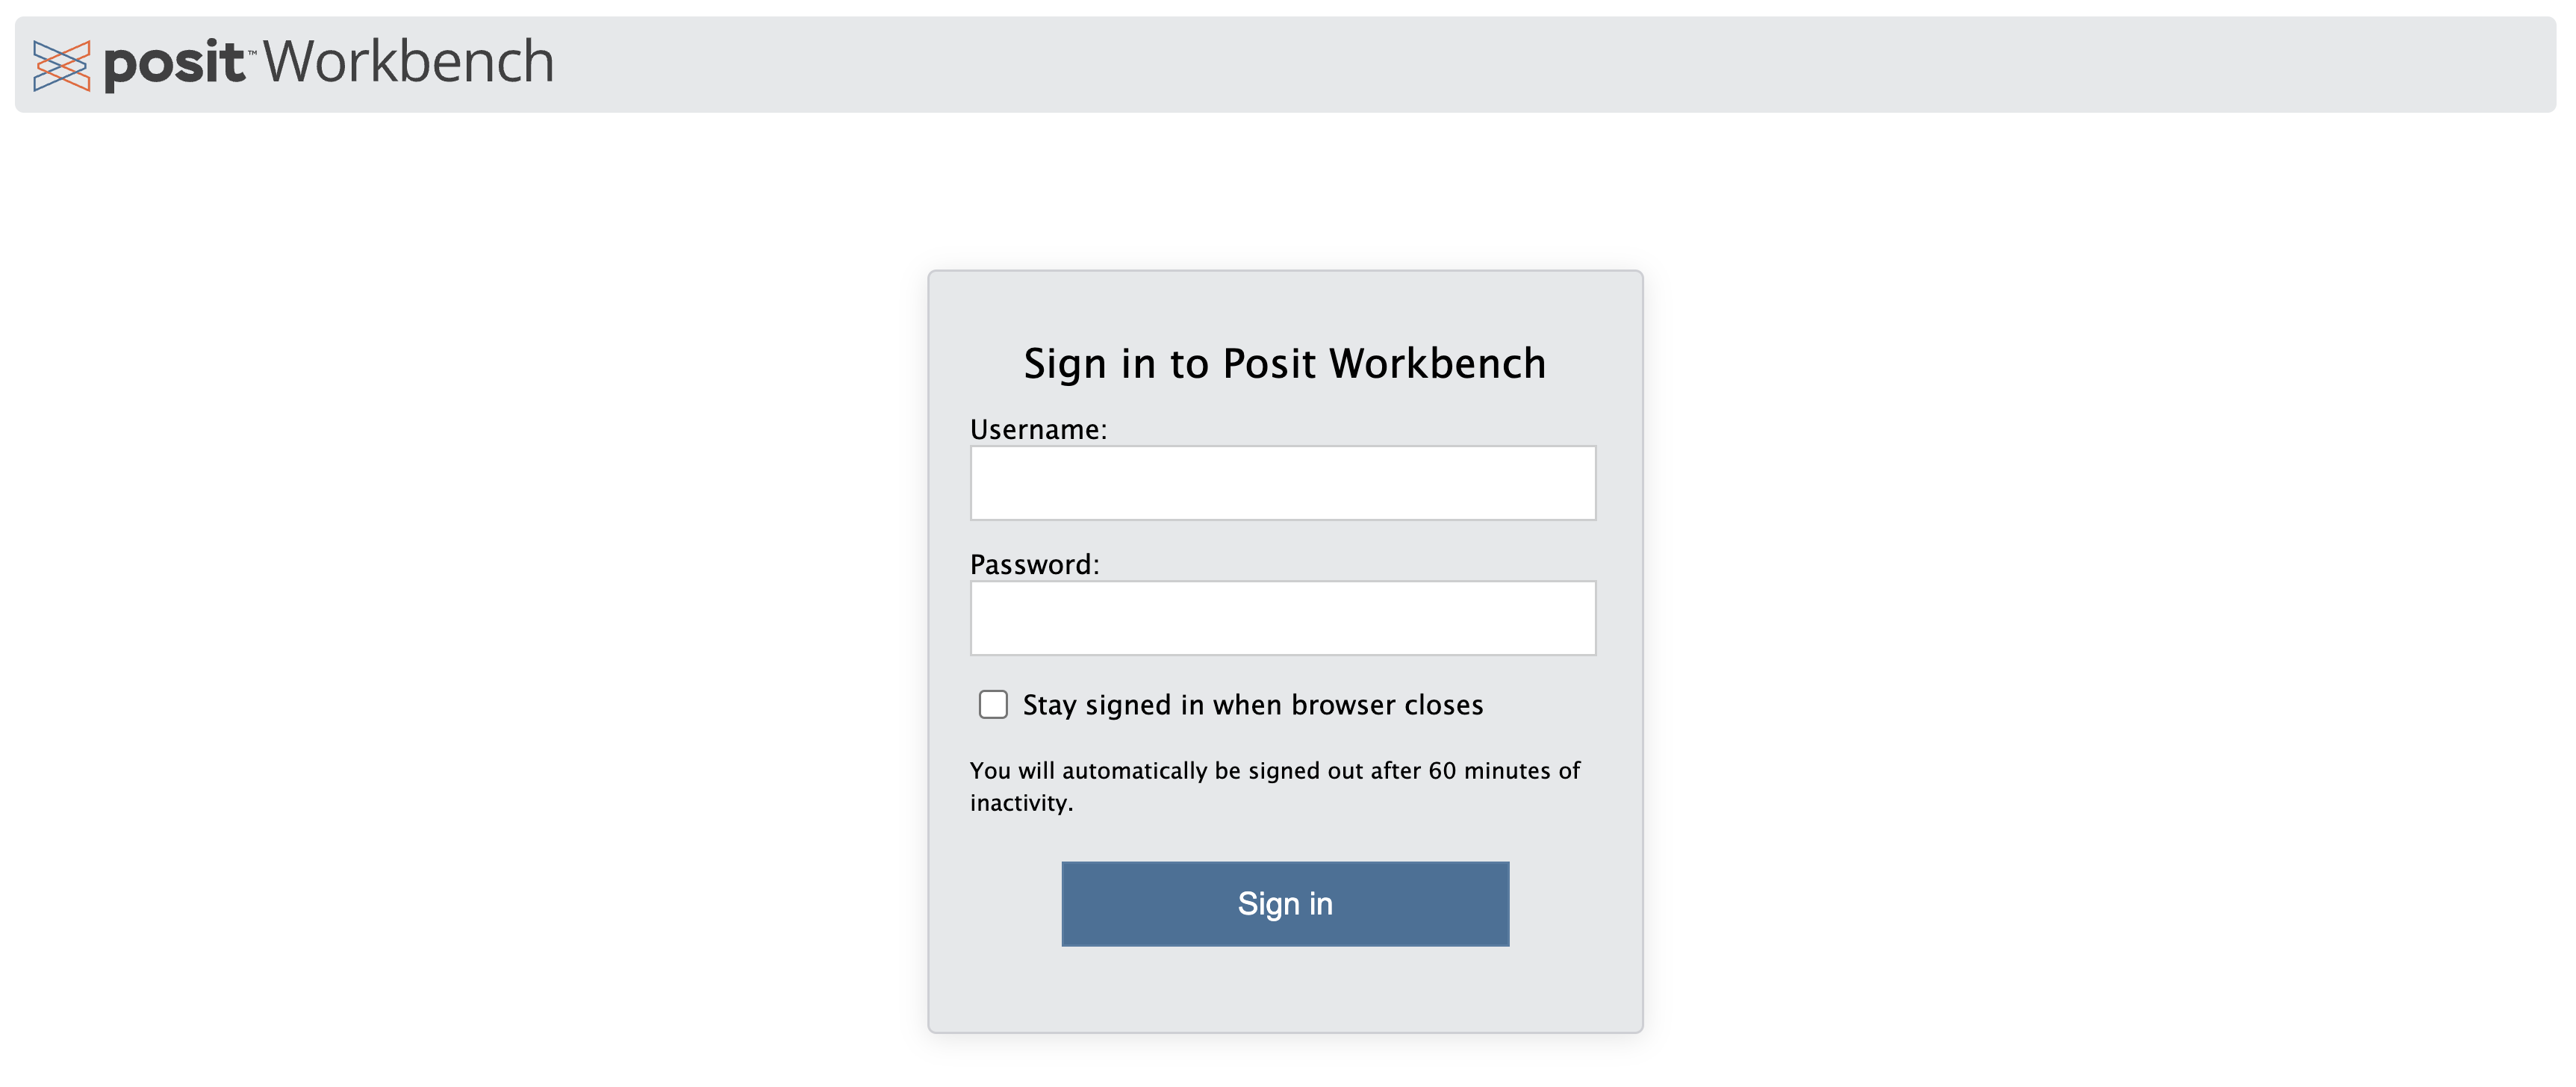
Server Setup
You should have received an email prompting you to change your password for your server account. If you did not, please put up a post-it and someone will help you.
After you have successfully changed your password log in at: https://included-crab.nceas.ucsb.edu/
1.3 Programming in R
There is a vibrant community out there that is collectively developing increasingly easy to use and powerful open source programming tools. The changing landscape of programming is making learning how to code easier than it ever has been. Incorporating programming into analysis workflows not only makes science more efficient, but also more computationally reproducible. In this course, we will use the programming language R, and the accompanying integrated development environment (IDE) RStudio. R is a great language to learn for data-oriented programming because it is widely adopted, user-friendly, and (most importantly) open source!
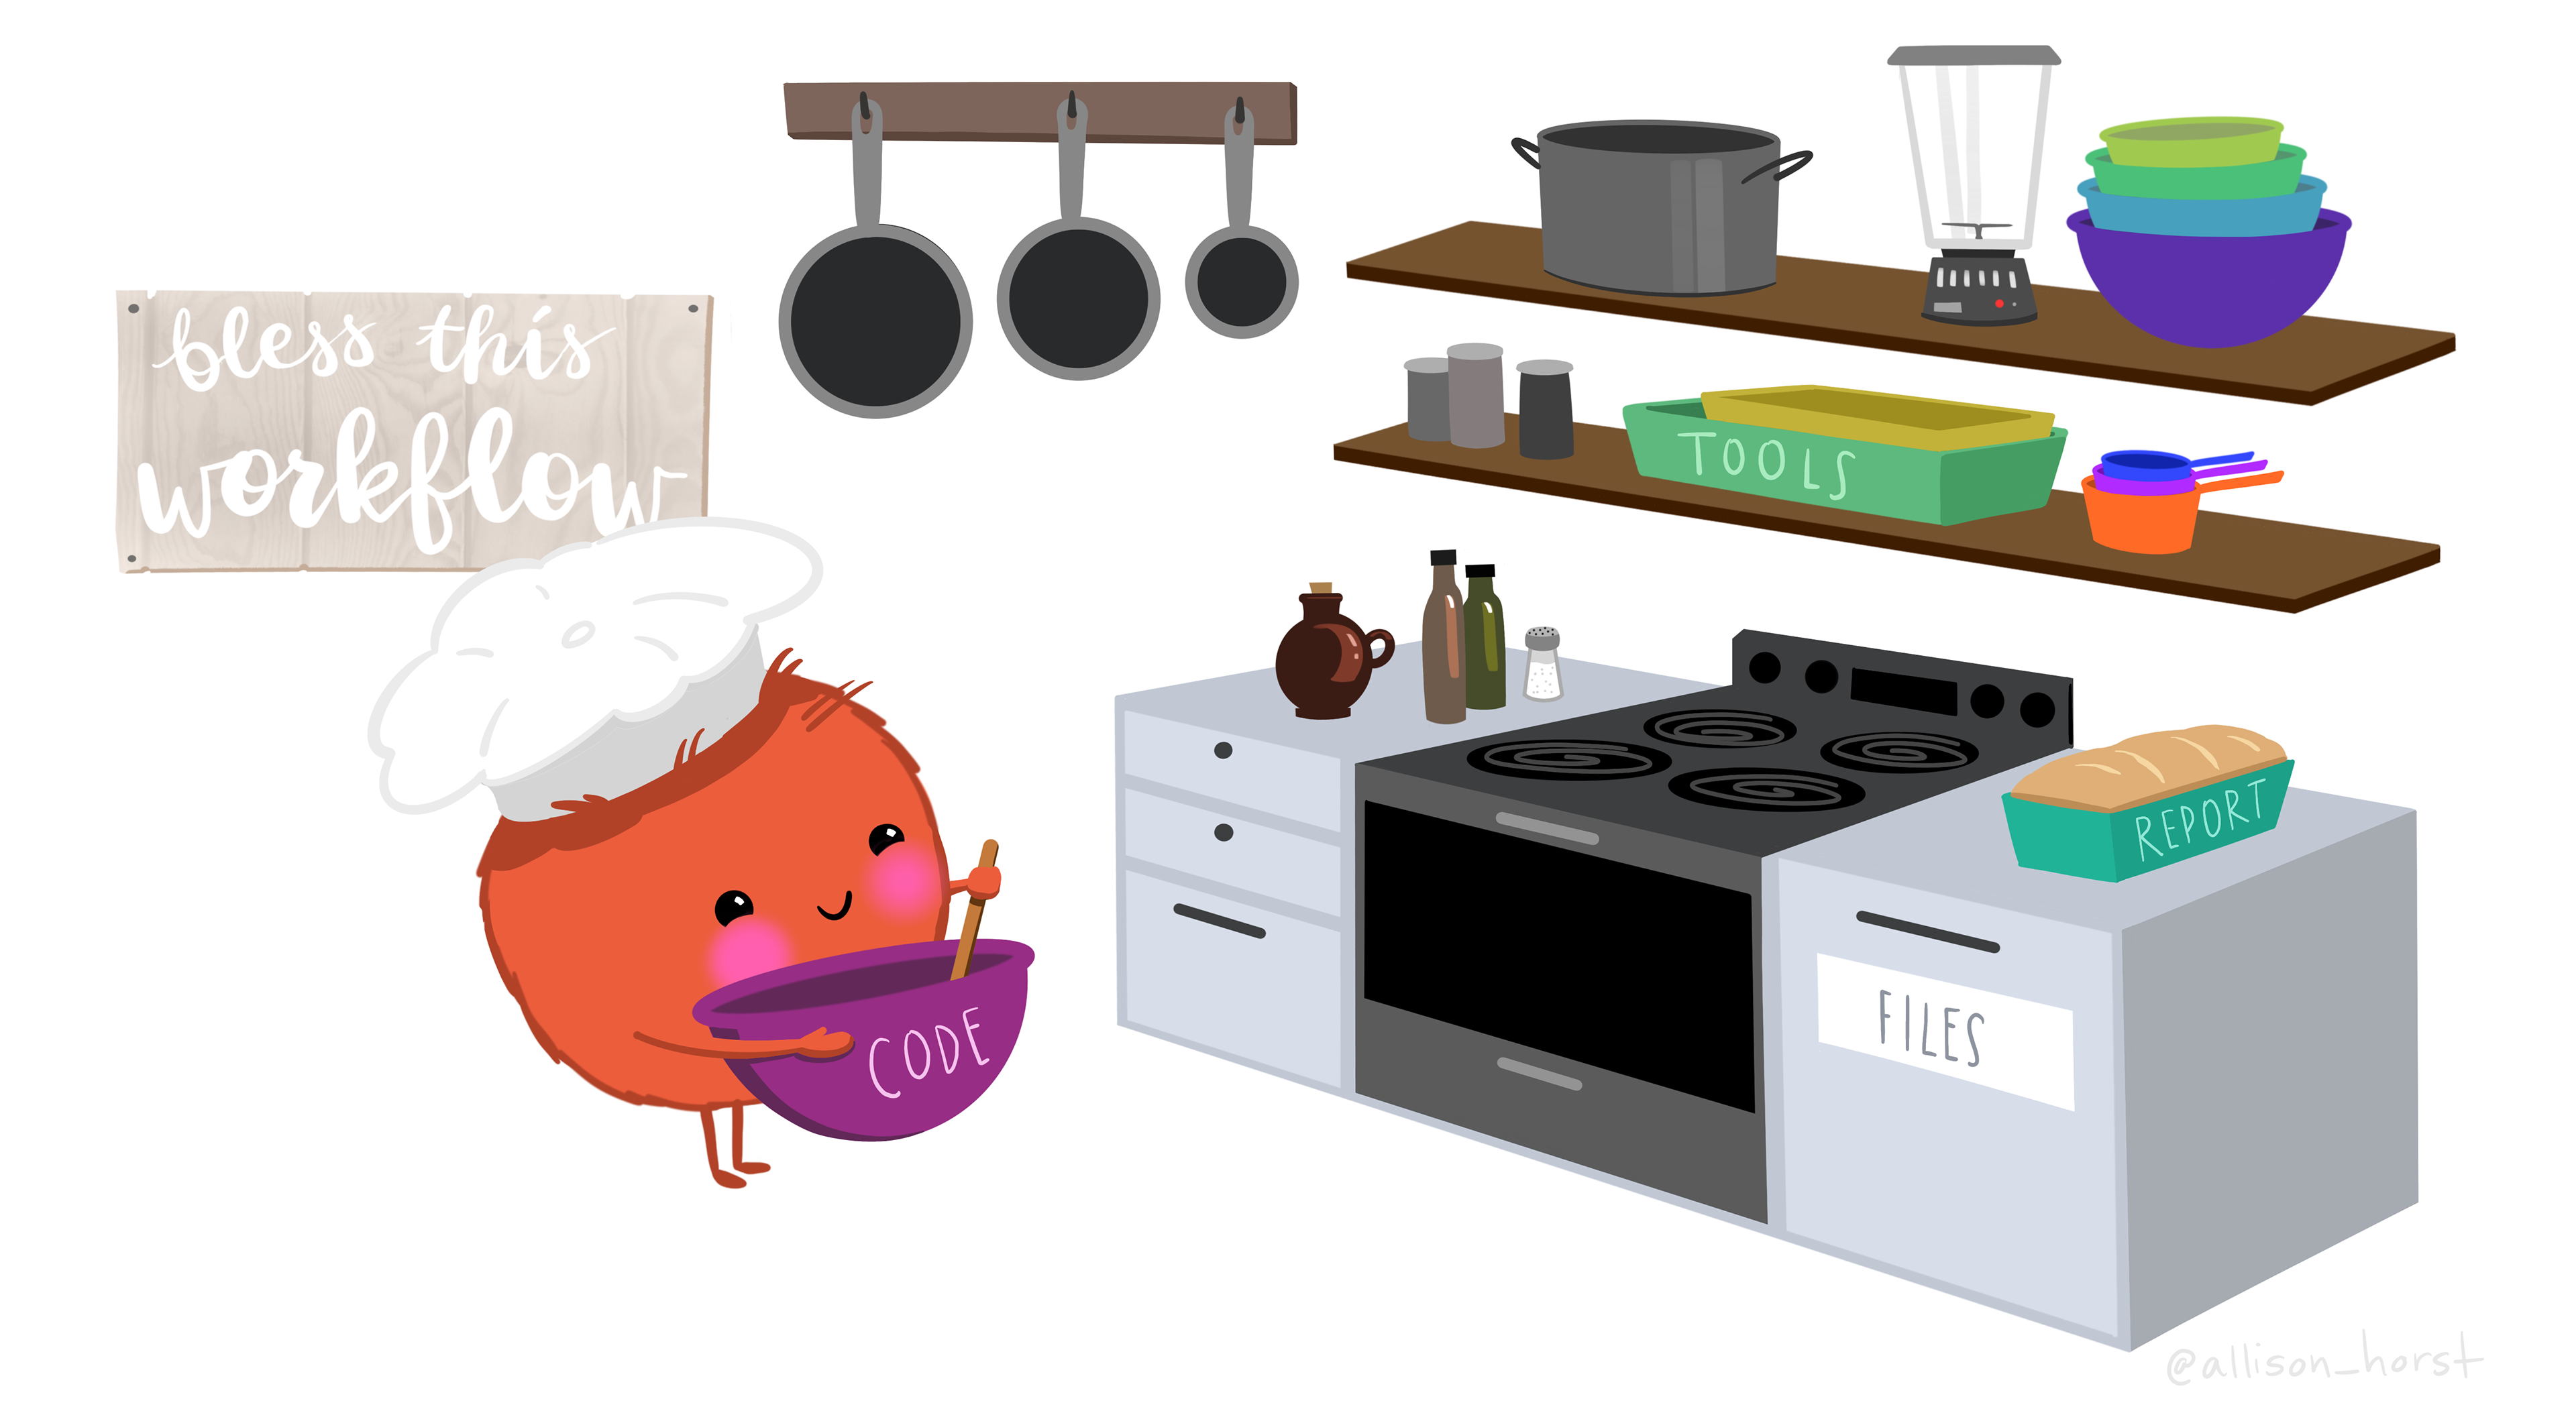
So what is the difference between R and RStudio? Here is an analogy to start us off. If you were a chef, R is a knife. You have food to prepare, and the knife is one of the tools that you’ll use to accomplish your task.
And if R were a knife, RStudio is the kitchen. RStudio provides a place to do your work! Other tools, communication, community, it makes your life as a chef easier. RStudio makes your life as a researcher easier by bringing together other tools you need to do your work efficiently - like a file browser, data viewer, help pages, terminal, community, support, the list goes on. So it’s not just the infrastructure (the user interface or IDE), although it is a great way to learn and interact with your variables, files, and interact directly with git. It’s also data science philosophy, R packages, community, and more. Although you can prepare food without a kitchen and we could learn R without RStudio, that’s not what we’re going to do. We are going to take advantage of the great RStudio support, and learn R and RStudio together.
Something else to start us off is to mention that you are learning a new language here. It’s an ongoing process, it takes time, you’ll make mistakes, it can be frustrating, but it will be overwhelmingly awesome in the long run. We all speak at least one language; it’s a similar process, really. And no matter how fluent you are, you’ll always be learning, you’ll be trying things in new contexts, learning words that mean the same as others, etc, just like everybody else. And just like any form of communication, there will be miscommunication that can be frustrating, but hands down we are all better off because of it.
While language is a familiar concept, programming languages are in a different context from spoken languages and you will understand this context with time. For example: you have a concept that there is a first meal of the day, and there is a name for that: in English it’s “breakfast.” So if you’re learning Spanish, you could expect there is a word for this concept of a first meal. (And you’d be right: “desayuno”). We will get you to expect that programming languages also have words (called functions in R) for concepts as well. You’ll soon expect that there is a way to order values numerically. Or alphabetically. Or search for patterns in text. Or calculate the median. Or reorganize columns to rows. Or subset exactly what you want. We will get you to increase your expectations and learn to ask and find what you’re looking for.
1.4 RStudio IDE
Let’s take a tour of the RStudio interface.
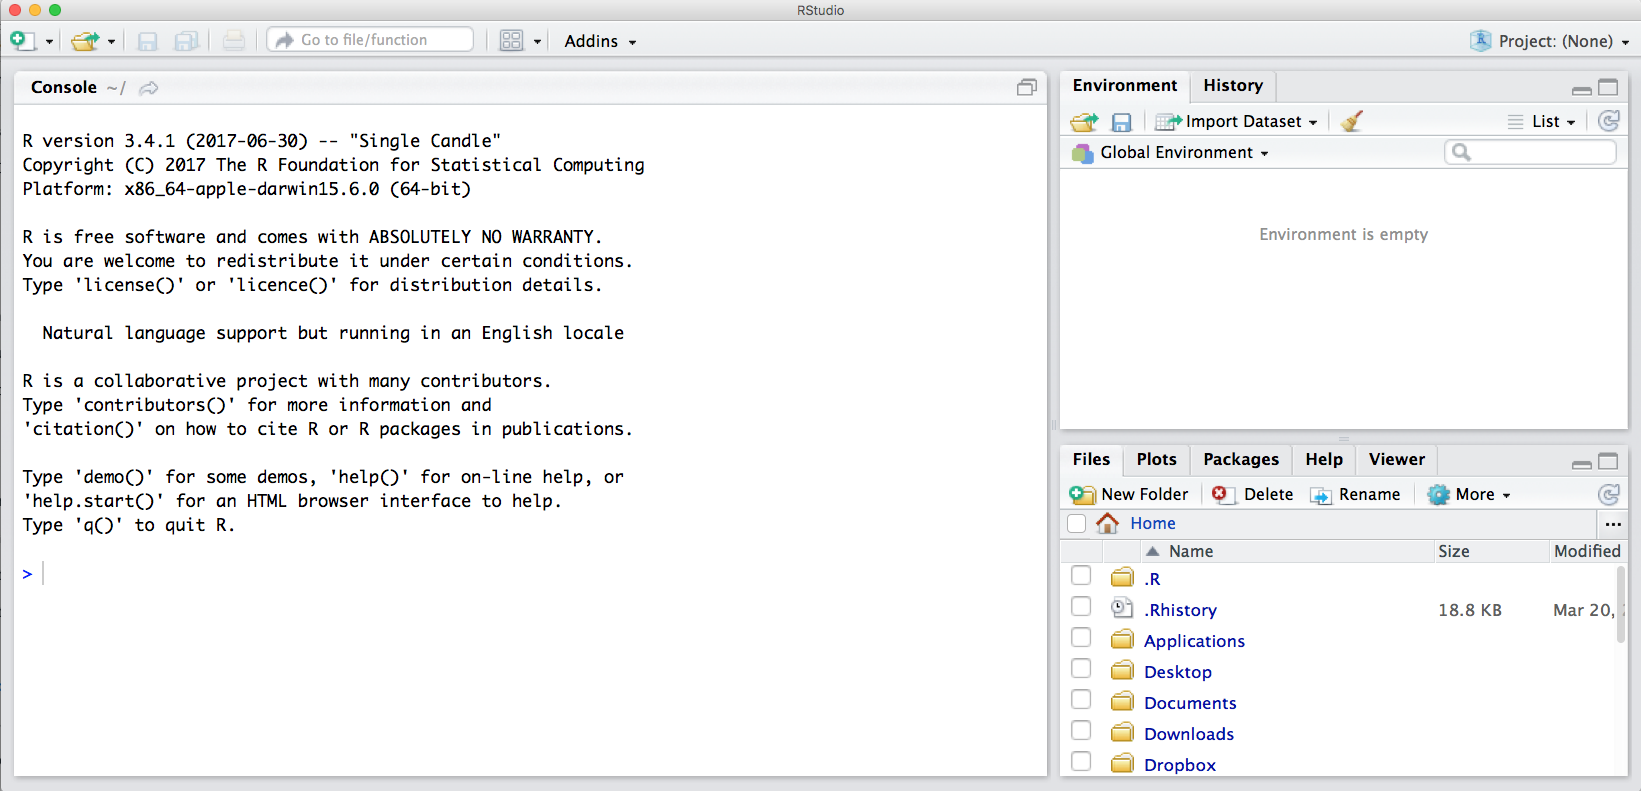
Notice the default panes:
- Console (entire left)
- Environment/History (tabbed in upper right)
- Files/Plots/Packages/Help (tabbed in lower right)
1.5 Create an R Project
In this course, we are going to be using an R project to organize our work. An R project is tied to a directory on your local computer, and makes organizing your work and collaborating with others easier.
The Big Idea: using an R project is a reproducible research best practice because it bundles all your work within a working directory. Consider your current data analysis workflow. Where do you import you data? Where do you clean and wrangle it? Where do you create graphs, and ultimately, a final report? Are you going back and forth between multiple software tools like Microsoft Excel, JMP, and Google Docs? An R project and the tools in R that we will talk about today will consolidate this process because it can all be done (and updated) in using one software tool, RStudio, and within one R project.
R Project Setup
- In the “File” menu, select “New Project”
- Click “New Directory”
- Click “New Project”
- Under “Directory name” type:
training_{USERNAME}(i.e.training_vargas) - Leave “Create Project as subdirectory of:” set to
~ - Click “Create Project”
RStudio should open your new project automatically after creating it. One way to check this is by looking at the top right corner and checking for the project name.
1.6 Organizing an R Project
When starting a new research project, step 1 is to create an R Project for it (just like we have here!). The next step is to then populate that project with relevant directories. There are many tools out there that can do this automatically. Some examples are rrtools or usethis::create_package(). The goal is to organize your project so that it is a compendium of your research. This means that the project has all of the digital parts needed to replicate your analysis, like code, figures, the manuscript, and data access.
Some common directories are:
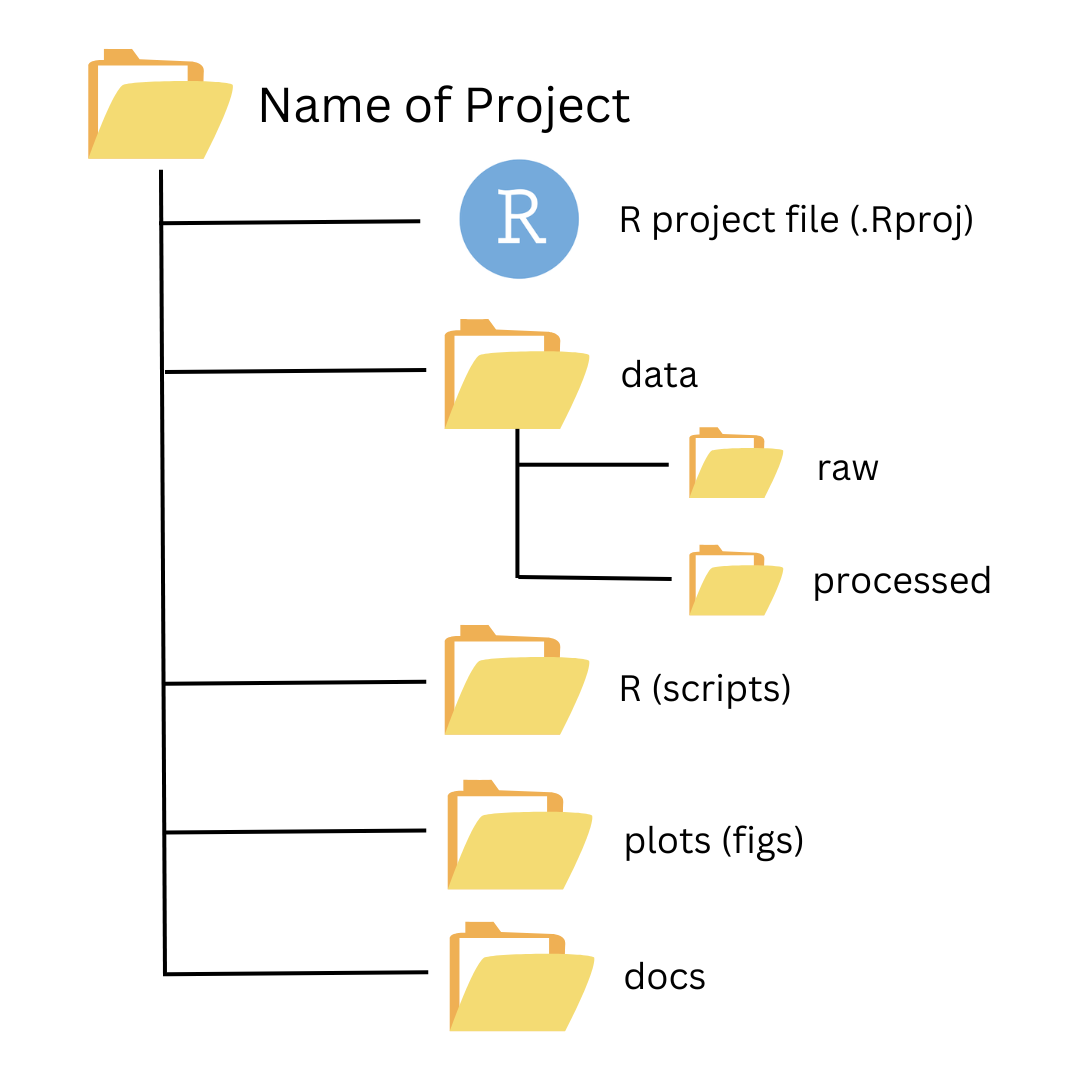
data: where we store our data (often contains subdirectories for raw, processed, and metadata data)R: contains scripts for cleaning or wrangling, etc. (some find this name misleading if their work has other scripts beyond the R programming language, in which case they call this directoryscripts)plotsorfigs: generated plots, graphs, and figuresdocs: summaries or reports of analysis or other relevant project information
Directory organization will vary from project to project, but the ultimate goal is to create a well organized project for both reproducibility and collaboration.
1.7 Moving in an R Project using Paths & Working Directories
Now that we have your project created (and notice we know it’s an R Project because we see a .Rproj file in our Files pane), let’s learn how to move in a project. We do this using paths.
There are two types of paths in computing: absolute paths and relative paths.
An absolute path always starts with the root of your file system and locates files from there. The absolute path to my project directory is:
/home/vargas-poulsen/training_vargasRelative paths start from some location in your file system that is below the root. Relative paths are combined with the path of that location to locate files on your system. R (and some other languages like MATLAB) refer to the location where the relative path starts as our working directory.
RStudio projects automatically set the working directory to the directory of the project. This means that you can reference files from within the project without worrying about where the project directory itself is. If I want to read in a file from the data directory within my project, the code to do this would be read.csv("data/samples.csv") (path relative to my R project) as opposed to read.csv("/home/vargas-poulsen/training_vargas/data/samples.csv") (absolute path of my home directory).
This is not only convenient for you, but also when working collaboratively. For example if Matt makes a copy of my R project that I have published on GitHub, and I am using relative paths, he can run my code exactly as I have written it, without going back and changing /home/vargas-poulsen/training_vargas/data/samples.csv to /home/jones/training_jones/data/samples.csv.
Note that once you start working in projects you should basically never need to run the setwd() command. If you are in the habit of doing this, stop and take a look at where and why you do it. Could leveraging the working directory concept of R projects eliminate this need? Almost definitely!
setwd() sets your working directory to specified file path (aka directory).
Similarly, think about how you work with absolute paths. Could you leverage the working directory of your R project to replace these with relative paths and make your code more portable? Probably!
1.8 Setting up R and RStudio on your Computer
1.8.1 Check your R Version
For this course, we used the R Version 4.2.2. To check the R Version of your personal computer run this in the Console: R.version$version.string. If you need to download R onto your personal computer or update it, you can do so from CRAN (The Comprehensive R Archive Network).
1.8.2 Check your RStudio Version
For this course, we used the RStudio Version released in December 2022. To check the RStudio Version of your personal computer run this in the Console: RStudio.Version()$version. If you need to download RStudio onto your personal computer or update it, you can do so from Posit. Note you may need to update your computer’s software to download the newest version of RStudio.
Another way to check for RStudio updates is to click “Help” and then “Check for Updates”. Follow the prompts.
1.8.3 Install Packages
In the code chunk below, we have listed out the packages we used for this course. You’re welcome to install each package one-by-one by calling the install.packages("package_name") function. Or you can copy and paste this code chunk and run it which includes a for loop that will check if a package is installed on your personal computer and if not, it will install it. We have also included a line of code that will update our packages. Running this code chunk may take a few minutes.